In today’s digital world, email plays a crucial role in both personal and business communication. Whether you’re managing a small business, working remotely, or simply staying connected, having reliable email access is essential. 1&1 IONOS, previously known as 1&1, is one of the top web hosting providers, offering a robust webmail service to cater to millions of customers worldwide. If you’re new to 1&1 Webmail or need assistance with logging in, resetting passwords, or securing your email, this guide will walk you through everything you need to know.
What is 1 and 1 Webmail (IONOS) and What Does It Offer?
1&1 Webmail, powered by IONOS, is an email and web hosting service that enables businesses and individuals to manage their online presence efficiently. Originally launched in Germany, the company has expanded globally, providing services in the United States, the United Kingdom, Spain, and beyond.
Key Features of 1&1 Webmail:
- Professional Email Hosting: Secure and professional email addresses for businesses.
- Domain Registration: Purchase and manage domain names directly through IONOS.
- SSL Certificates: Enhance website security and build trust with visitors. Read more
- Cloud Hosting & Dedicated Servers: Scalable web hosting solutions for businesses of all sizes. Check important hosting features
- Website Builders & Marketing Tools: Tools to create and optimize websites with ease.
If you’re ready to get started, let’s go through the login process step by step.
How to Log in to 1 and 1 Webmail?
Logging into 1&1 Webmail is simple and only takes a few steps:
- Open Your Web Browser: Use any web browser such as Google Chrome, Mozilla Firefox, or Safari.
- Go to the Official Website: Type 1and1.com in your browser’s address bar and press Enter.
- Redirect to IONOS: The above URL will automatically redirect you to the official website: https://www.ionos.com/.
- Click on Sign-In: Locate and click the Sign-in button at the upper-right corner of the homepage.
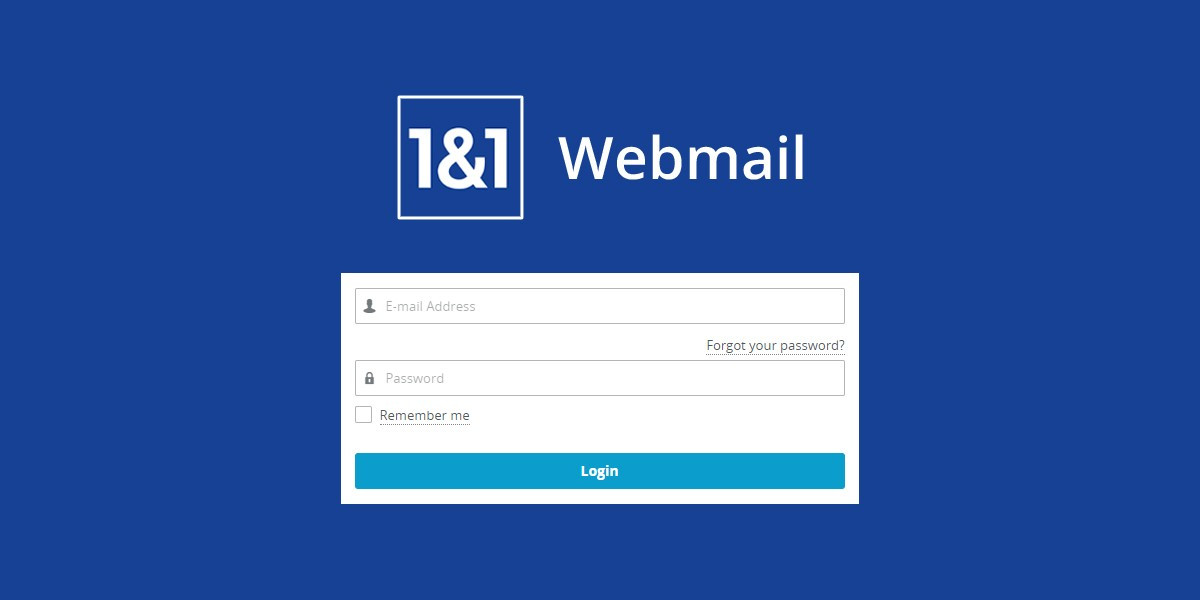
- Access the Webmail Login Page: Scroll down and under More 1&1 IONOS Logins, click on Webmail.
- Enter Your Credentials: Provide your username/email address and password in the login fields.
- Stay Logged In (Optional): Check the Remember Me box if you want to stay signed in.
- Click Login: Hit the blue Login button to access your 1&1 Webmail account. Learn how to connect Webmail to Outlook
Read Also: E Praghna Student Complete Login Guide – Sri Chaitanya Online Exams, Classes and Login elements
How to Reset Password for 1 and 1 Webmail Login?
Forgetting a password is common, but resetting it is straightforward. Follow these steps to recover your account:
- Visit the 1&1 IONOS Website: Open https://www.ionos.com/ and click on Sign-in.
- Go to the Password Reset Page: Click “Forgot Your Password?” located above the password field.
- Enter Your Account Details: Provide your email address, domain name, or Customer ID.
- Request a Reset Link: Click Request New Password to receive a reset link in your email.
- Check Your Email: Open the email sent by 1&1 and click on the reset link.
- Create a New Password: Choose a strong password (minimum 12 characters with a mix of uppercase, lowercase, numbers, and symbols).
- Confirm the New Password: Re-enter the new password and click Reset Password.
- Login Again: Use the new password to access your 1&1 Webmail account.
How to Secure Webmail & Email with an SSL Certificate?
Protecting your email communications is crucial. One way to enhance security is by using an SSL certificate. If you are using WordPress, follow these steps:
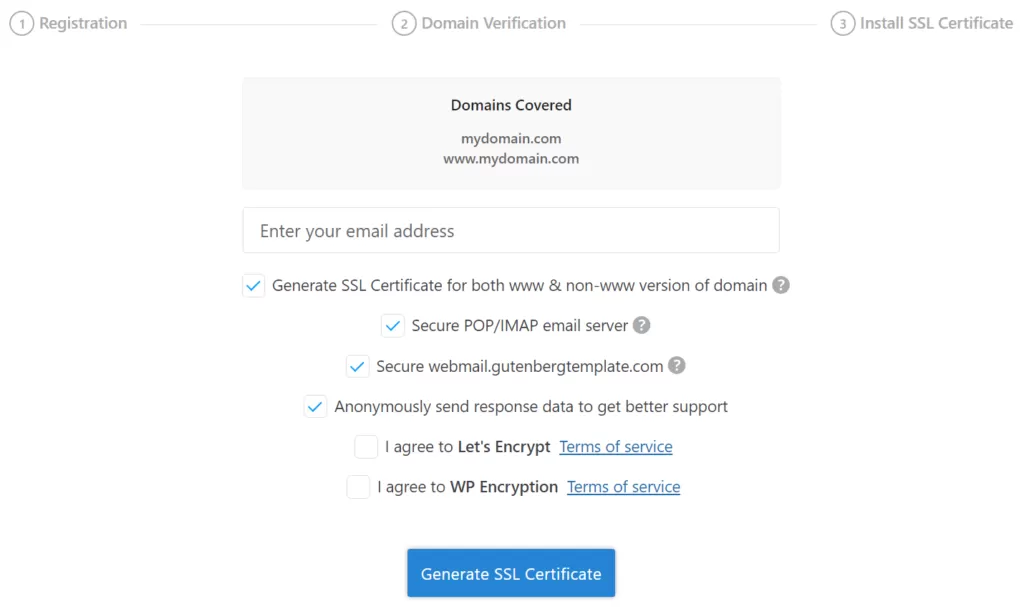
- Install WP Encryption Plugin: Go to wp-admin, navigate to Plugins > Add New, and install WP Encryption Free SSL.
- Generate Free SSL Certificate: Visit the WP Encryption settings page in your WordPress dashboard.
- Modify the URL: Add
&includewww=1&includeemail=1to the URL to include SSL protection for webmail and email servers. - Select SSL Options: Choose to secure both www and non-www domains, as well as webmail and email servers.
- Enter Your Email: Provide your contact email and click Generate SSL Certificate.
- Apply SSL Certificate: Follow the on-screen instructions to apply the certificate.

Read Also: JNB Nivas Login: AP Residential Schools & Hostels
How to Detect Monitoring Software on Your Server?
If you suspect that someone is monitoring your emails or computer activity, here’s how to check:
- Look for Suspicious Programs: Open the Start Menu > All Programs and check for tools like VNC, LogMeIn, or GoToMyPC.
- Check Running Processes: Open Task Manager (Ctrl + Shift + Esc) and look for unknown processes.
- Monitor TCP Connections: Use the netstat -ano command in the Command Prompt to see all active connections. Learn about TCP/IP monitoring
- Scan for Malware: Run a deep scan using Windows Defender or third-party antivirus software. Read more on monitoring software
Conclusion
1&1 IONOS is a powerful and reliable web hosting and email service provider that caters to businesses and individuals worldwide. Whether you need web hosting, domain registration, or secure email services, IONOS provides an easy-to-use platform with extensive customer support.
By following the steps outlined in this guide, you can log in, reset your password, secure your emails with SSL, and detect potential monitoring threats. Whether you’re a beginner or an experienced user, 1&1 IONOS offers a seamless experience tailored to your needs.
If you require further assistance, visit the official support page at https://www.ionos.com/help/ or contact their customer service team for expert guidance. Get free email marketing templates


