If you’re unknown to Gmail, you’ve likely noticed that it acts a little differently than other email applications. Once you get the drop of Gmail, it’s incredibly straightforward to use! This article guides you on how to send emails, organize your inbox, and complete other basic tasks in Gmail. Keep in mind that, before you can operate Gmail, you’ll need to make a Gmail account if you don’t already have one.
How to Use Gmail on Your Desktop
Comprehending how to utilize Google’s Gmail is easy. This Gmail tutorial will cover the most significant features you should learn about and how to utilize them.
First, let’s sign up for a Gmail account.
How to Sign Up for Gmail
To operate Google Gmail, you’ll require a Gmail account.
In case you don’t have a Google account already, here’s how you can make an email account:
Step 1
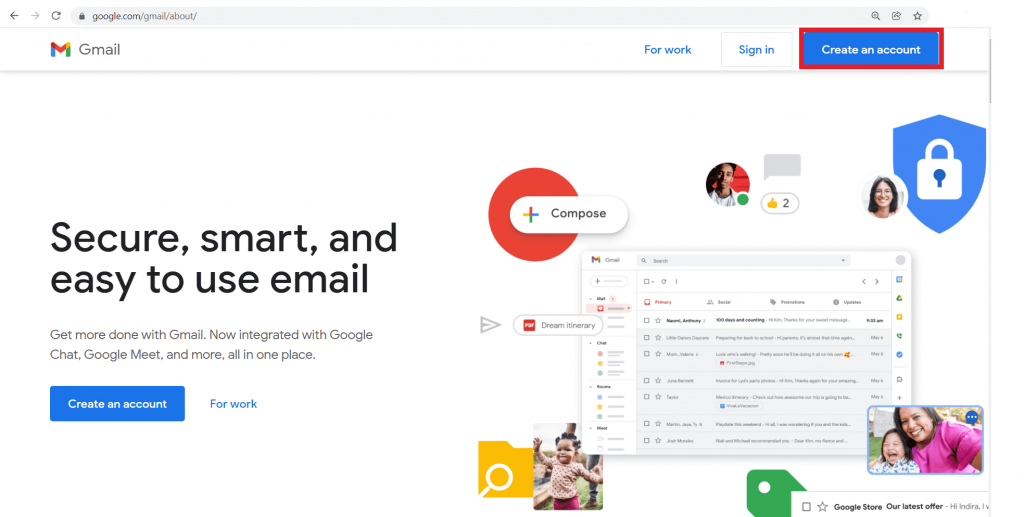
Go to gmail.com and click the Create an account button.

Step 2
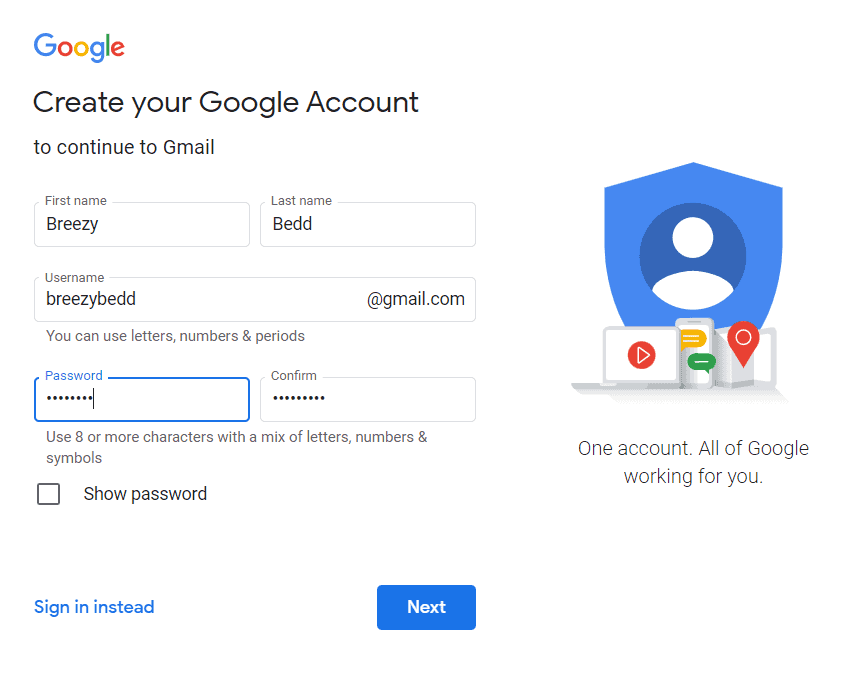
When the sign-up form emerges, enter your First name, Last name, Username, and Password.

Step 3
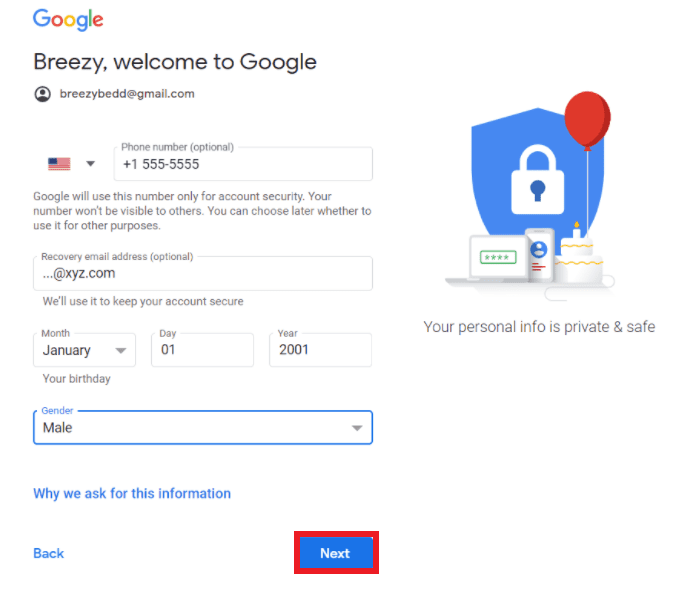
Add Recovery number and Recovery email points for added security (optional).
Then, add your date of birth and gender.
Once you’ve documented these details, click Next.
Step 4
After you’ve checked Google’s Terms of Service and Privacy Policy, Hit on I agree.

Step 5
You’ll then be taken to the homepage of your unique Gmail account.


B. How to Sign In to Gmail
Here’s how you can sign in to Gmail with your email address:
Step 1
Unlock Gmail and hit on the Sign in button.


Step 2
Enter your phone number or email and click Next.

Step 3
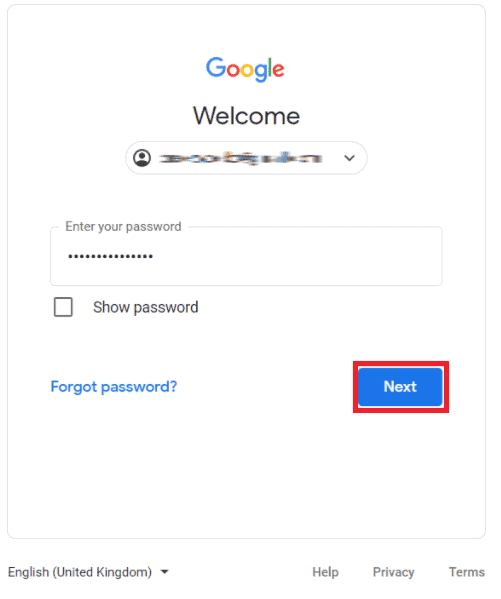
Type in your password and click Next to open your inbox.
C. How to Compose and Send an Email in Gmail
Here’s how to compose and mail emails in Google Gmail:
Step 1
Log in to Gmail from your desktop and hit on the Compose button on your left.

Step 2
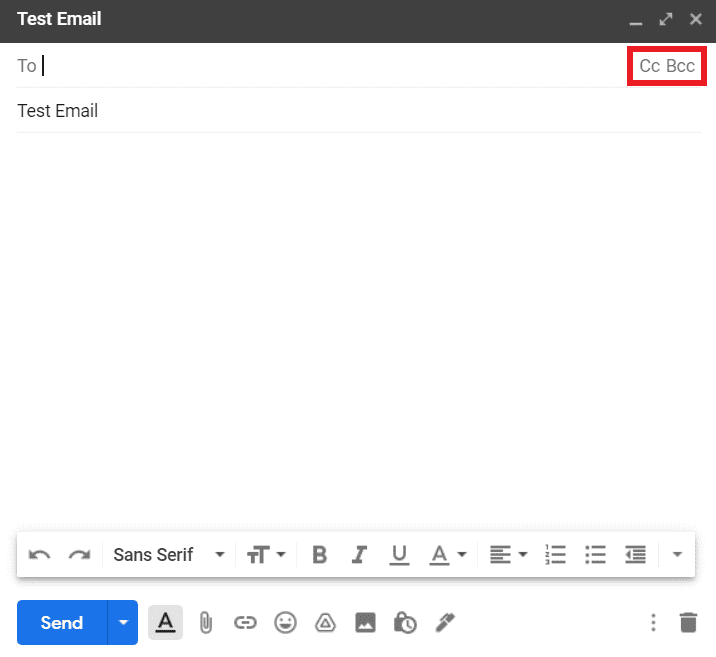
In the New Message window, document the recipient email IDs in the To field and add your subject line in the Subject field.

Step 3
Add Cc (carbon copy) or Bcc (blind carbon copy) recipients if you like to send mail copies to anyone.
Step 4
Enter your message and hit Send when complete.

D. How to Respond to Emails in Gmail
When you welcome a new email in the Gmail inbox, you can notice the sender’s name and the subject underlined in bold.
Here’s how you can reply to an email you’ve received in Gmail:
Step 1
Log in to Gmail and open the email message you like to reply to by clicking on it.
Step 2
Hit on the Reply arrow.
Step 3
A preview pane will open with the name of the someone you’re replying to in the To field.

Step 4
Type your response message and click Send.

To operate Gmail offline:
- Open Gmail and hit on the gear icon at the top to open the Quick Settings menu.
- Click on See all settings and move to the Offline tab.
- Click on the radio button after Enable offline mail.
- Hit Save changes to begin utilizing Gmail offline.
E. How to Organize Your Gmail Inbox
If you’re like most someones these days, your inbox is probably bombarded with incoming messages — product notifications, promotions, newsletters, cold emails, and more. As a consequence, keeping your mailbox managed can be overwhelming.
Fortunately, Gmail presents multiple organizational features to help manage your emails smoothly, such as:
- Labels
- Starred Emails
- Filters
- Archive/Delete Emails
Here’s a short look at some of these features:
- Labels
The Gmail label function allows you to organize your inbox better.
Unlike Microsoft Outlook, which just lets you add an email to one folder, Gmail allows you to add numerous labels to a single email. In this method, an email can exist in more than one category at the same time.
I’ll show you how to:
- Create a Gmail label
- Add Labels to Emails
- Search for Labeled Emails
Let’s first review how you can make a label in Gmail.
- How to Make a Gmail Label
Step 1: Log in to Gmail and click on Gmail Settings (gear icon) around the top right corner.
Step 2
In the Quick Settings dialog box that opens, click on Notice all settings.

Step 3
Choose the Labels tab.

Step 4
Scroll down and hit on Create new label.

Step 5
In the pop-up window, document a name for the new Gmail label and choose a label (or folder) to nest it under (optional).

Step 6
Hit on Create.

ii. How to Add Labels to an Email in Gmail
Here’s how easy it is to add a label to an email.
Step 1
Open the email you like to add a label to and hit on the Label icon at the top.
Document the name of the label in the search box or choose one from the label list.
You can add numerous labels to a single email by reviewing the boxes next to the label names.

Step 3
hit on Apply.

Step 4
The chosen labels will be added to the email.

Once you’ve added the labels, you can effortlessly search for labeled emails.
I’ll guide you on how next.
- How to Locate an Email with a Specific Gmail Label
Follow these steps to locate an email that you’ve labeled:
Step 1
Open Gmail and scroll through the sidebar on the left until you see the needed folder.
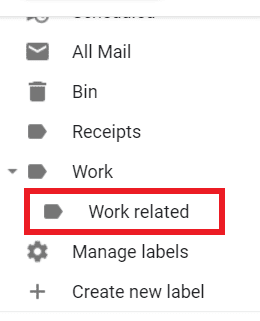
Step 2
Click on the folder to show all the emails within that specific label. Then, you can choose the needed email from the list.


2. Starred Emails
Gmail permits you to star essential emails for straightforward organization.
I’ll guide you on how to star essential emails and search for your starred emails.
How to Star Essential Emails
Step1
Open Gmail and locate the email you like to star.


Click on the star icon next to the needed email.
The star will turn yellow, implying that the email has been starred.


ii. How to Search for Starred Emails
Once an email has been starred, searching for that email is easy.
Here’s how to do it:
Step 1
Open Gmail and choose the Starred folder in the left side pane.

Step 2
The Starred folder will open with all your starred emails in it.


Next, I’ll guide you on how to filter your emails utilizing the Gmail Filter feature.
- Gmail Filters
Once you make Gmail filters, Gmail can automatically handle incoming messages to the various folders in your inbox.
Here’s how it’s done:
Step 1
Open Gmail and hit the Show search options icon on the right of the search mail bar.


Step 2
Enter your search criteria (From, Size ,To, Has the words, Date, etc.) and click the Create filter button.


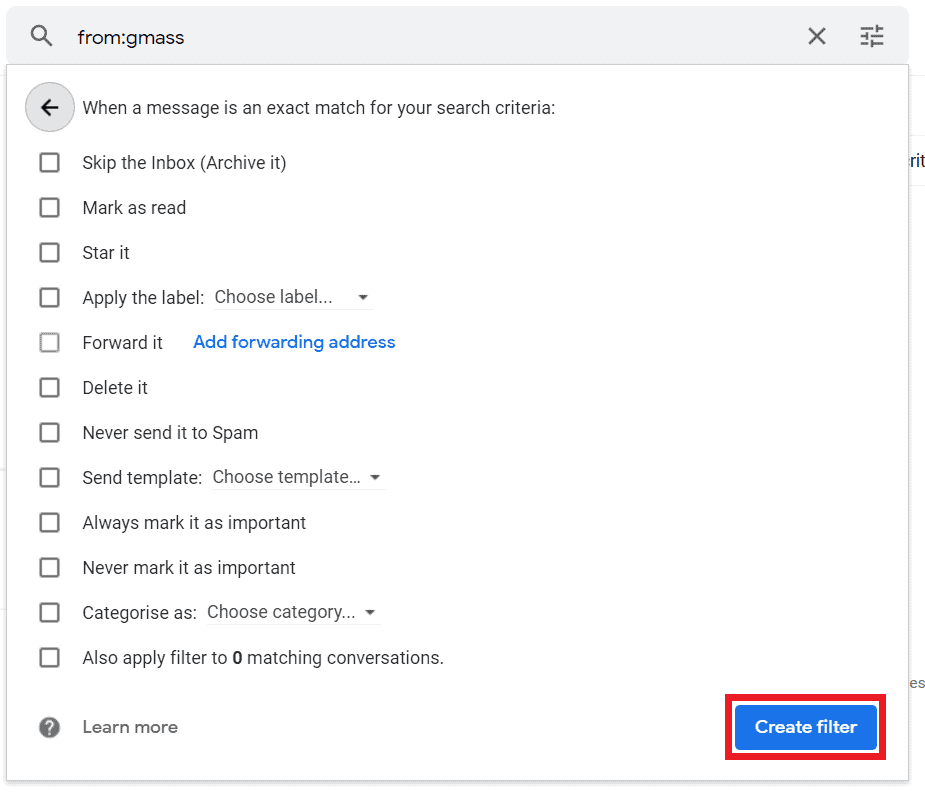
Step 3
Choose what you like Gmail to do with the filtered emails from the list and click Create filter.

Step 4
A notification box will emerges confirming that your filter has been created.


Once your Gmail filters have been made, you won’t have to sort and manage Gmail messages manually — the filter will do it for you automatically.
Archive Emails or Delete Emails
Do you only like to keep essential emails in your inbox?
Then you can archive emails or delete insignificant emails.
Here’s how:
Archive Emails
Step 1
Open Gmail and choose the numerous emails you like to archive by clicking on the checkbox next to each email.


Step 2
Hit on the Archive icon at the top.

Step 3
A black pop-up window will emerges, indicating that the chosen emails have been archived.


ii. Delete Emails
Here’s how you can delete undesirable emails in Gmail:
Step 1
Open Gmail and choose the emails you like to delete utilizing the checkboxes.


Step 2
Hit on the trash bin icon to delete the selected emails.
What’s the distinction between archived emails and deleted emails?
Archiving emails lets you clean up your inbox by dragging desired emails (archive emails) from your inbox into the All Mail folder (which you can always access from the left sidebar).
Unlike archived emails, deleted emails are driven to the Trash folder (located below the spam folder) and eternally deleted after 30 days.
Final Thoughts
Gmail is a wonderful tool to send and receive emails, manage your inbox, perform searches,add signatures, and carry out chats and meetings.
However, even with its arsenal of features, Gmail falls short when it comes to sending bulk emails, personalizing emails, or developing insights into how recipients engage with your emails.

