Outlook, designed by Microsoft, is one of the most widely used email customers. Apart from sending and receiving emails as a stand-alone application, it can also act as a multi-user software. Thus, allows you to handle contacts, calendars, and tasks, team with colleagues, documents, send reminders, share project notes, and more. Moreover, its perfect security measures make it the most desired email client.
Among different features of Outlook, is the power to manage email accounts from different other email providers. That is, you can add a Webmail account to Outlook, and effortlessly compose, send/receive, and manage all your emails from a single platform. However, to access a Webmail account in Outlook, you are required to first configure the account to Outlook through the right procedure. Let us move on to comprehend how.
Outlook 2013
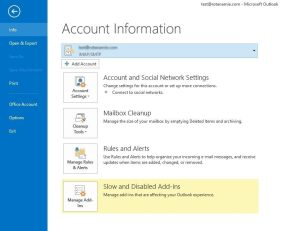
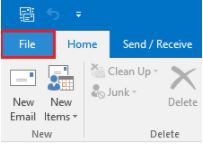
1. Open the Outlook app and click on ‘File’.

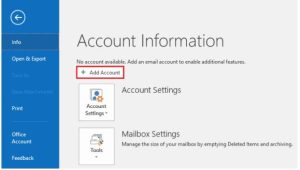
2. Hit on ‘Add Account’ option.

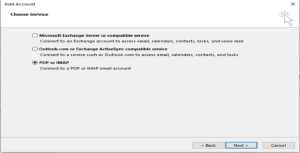
3. Choose option ‘Manual setup or additional server type and click ‘Next’.

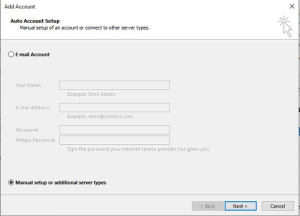
4. Choose the option ‘POP or IMAP’ and click ‘Next’.

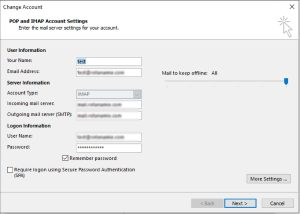
5. Enter Your Name and E-mail Address.
Choose IMAP as your account type.
Enter the incoming and outgoing server details.
In Login d enter the e-mail address and password of the webmail account you like to connect.
Click More Settings.

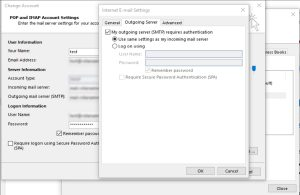
6. Choose Outgoing Server and check ‘My outgoing server (SMTP) needs authentication’.

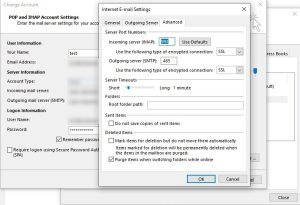
7. Choose Advanced.
For Incoming server (IMAP) enter 993 and choose SSL.
For Outgoing server (SMTP) enter 465 and choose SSL.
Click ‘OK’.

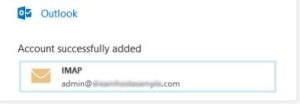
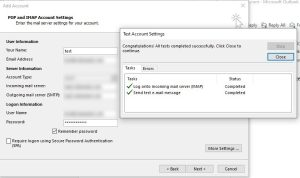
8. Click ‘Next’. The settings will be checked, and you will see a success notification if the account has been set up correctly.

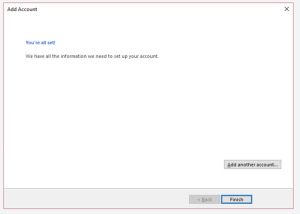
9. Hit on ‘Finish’ button.
Outlook 2016 and 2019
1. Open the outlook app and click on ‘File’.

2. Hit on ‘Add Account’ option.

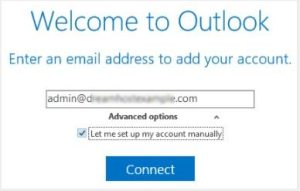
3. Enter the email address.
Click the ‘Advanced options’ link and review the box to set up the account manually.
Hit the ‘Connect’ button

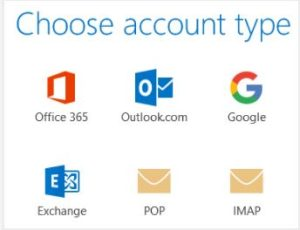
4. Choose the option ‘POP or IMAP’

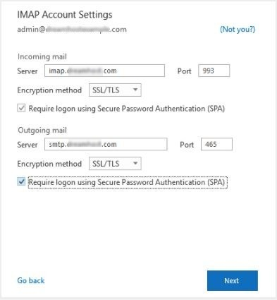
5. Enter the incoming and outgoing server information.
Select the port numbers.
Set encryption method- SSL/TLS.
Check the box ‘Require logon utilizing Secure Password Authentication’.
Click ‘Next’.

6. Enter the password of the Email account and click ‘Connect’.

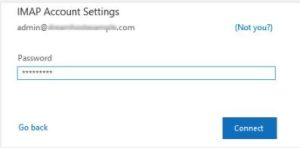
7. You will get a success notification if the account has been set up appropriately.